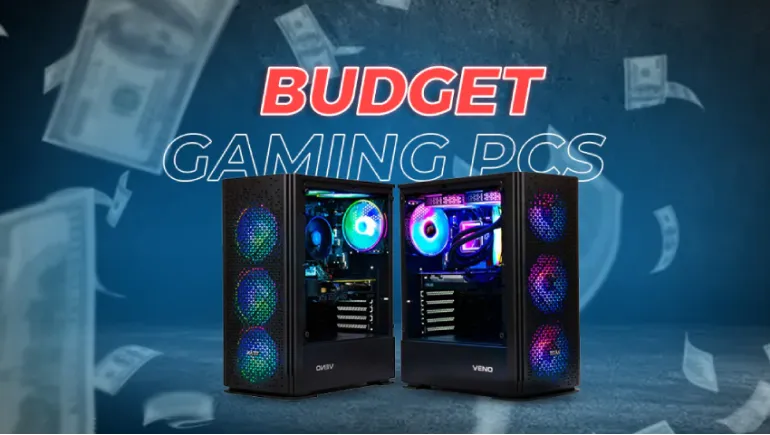
In the world of gaming, having a powerful PC doesn’t always mean breaking the bank. Building a budget gaming PC is an exciting challenge that allows you to get the best bang for your buck without compromising performance. Whether you're a first-time builder or looking to upgrade on a budget, this step-by-step guide will help you create a gaming rig that can handle your favorite games while staying within your financial limits.
Before diving into the hardware, it’s crucial to set a clear budget. Determine how much you're willing to spend on your gaming PC and keep in mind that prices can fluctuate. A typical budget build might range between $500 to $800, but you can go lower or higher depending on your requirements.
Also, define the type of gaming experience you’re aiming for. Do you plan to play AAA titles at 1080p with medium-to-high settings, or are you more into competitive esports titles that require high frame rates at lower resolutions? Your gaming goals will guide your choices for key components like the GPU, CPU, and RAM.
The CPU is the brain of your gaming PC, and for budget builds, you don’t need the latest and greatest processor to get solid gaming performance. Aim for a mid-range processor that offers good performance for gaming at a reasonable price. Popular budget options include the AMD Ryzen 5 series or Intel Core i3/i5 processors.
For example, the AMD Ryzen 5 3600 or Intel Core i5-12400F provides excellent performance for their price point and will be more than enough for most gaming needs.
The GPU is arguably the most important component for gaming, as it directly affects how well your games will run. For a budget gaming PC, you can find some excellent entry-level or mid-range options that provide great performance without breaking the bank. Some GPUs worth considering include the NVIDIA GTX 1660 Super or AMD Radeon RX 6600.
These cards can handle 1080p gaming with decent frame rates and high settings in most modern games. Be sure to shop around and look for sales or used deals to maximize value.
For gaming, 16GB of RAM is the sweet spot for budget builds. It provides plenty of memory for both gaming and multitasking without overspending. Look for DDR4 RAM with a speed of at least 3200MHz, as faster RAM can slightly boost performance, particularly in Ryzen builds.
Team T-CREATE CLASSIC 8GB DDR4 3200MHz is an example of a cost-effective option that can be paired for a total of 16GB.
Gone are the days of relying solely on traditional hard drives for your storage needs. In a budget build, prioritize an SSD (Solid State Drive) for your operating system and key games. SSDs offer much faster load times and snappier overall system performance.
A 500GB or 1TB SSD like the Samsung 970 EVO or Kingston A2000 NVMe will give you plenty of space for a handful of games and your OS. If you need extra storage for media or additional games, you can always add a cheaper 1TB HDD for bulk storage.
The motherboard is where all your components connect. For a budget build, aim for a motherboard that supports your CPU and has the essential features without adding unnecessary extras. A B450 or B550 chipset motherboard for AMD, or a B660 chipset motherboard for Intel, would be ideal.
Look for features like support for M.2 SSDs, multiple USB ports, and decent cooling options.
The PSU is often overlooked, but it’s a critical component to ensure the longevity and stability of your system. For a budget gaming PC, a 500-600W PSU with an 80+ efficiency rating will suffice. Stick with reliable brands like Corsair, EVGA, or Cooler Master for long-term reliability.
The PC case is largely a matter of personal preference, but make sure it has enough space for your components and good airflow to keep everything cool. Budget cases often include a few pre-installed fans, which is usually enough for a basic build.
Some affordable options include the Cooler Master MasterBox Q300L or NZXT H510. These cases are budget-friendly while offering good cable management and airflow.
Once you’ve gathered all your parts, it's time for assembly! Start by installing the CPU and cooler onto the motherboard, followed by the RAM. Mount the motherboard into the case, connect the PSU, and install the GPU, storage, and other components. After connecting all the necessary cables, you’re ready to power it on and install your operating system.
There are plenty of online resources, including YouTube tutorials, to guide you through the process if it's your first time building a PC.
After assembling your PC, install the operating system of your choice, typically Windows 10 or Windows 11 for gaming. Once the OS is up and running, download and install the necessary drivers for your GPU, motherboard, and any other components. You can find these on the manufacturers' websites.
Building a budget gaming PC doesn’t have to be overwhelming. With careful selection of components and a little research, you can build a powerful gaming rig without exceeding your budget. By focusing on getting the best value for key parts like the CPU, GPU, and storage, you’ll be able to enjoy smooth gaming performance while saving money. Happy building!


Comments
There are no comments for this Article.